Beginner's Guide: How to Apply Eyeliner & What to Use
Let’s face it: eyeliner can be terrifying. One shaky hand, one unexpected blink, and suddenly you look like you went to battle with a Sharpie—and lost. But here’s the secret: eyeliner doesn’t have to be scary. With the right tools and a few simple techniques, anyone can master it.
Whether you want a soft everyday line or a sleek cat-eye, this beginner’s guide will walk you through everything you need to know.
Step 1: Choose Your Weapon – Types of Eyeliner
Not all eyeliners are created equal. As a beginner, start with the most forgiving formulas.
- Pencil Eyeliner (Best for beginners) – Soft, blendable, and easy to control. You can smudge it for a smoky look or sharpen it for a precise line. Look for a creamy texture (not too hard) that glides on without tugging your eyelid.
- Gel Eyeliner (Intermediate) – Comes in a pot with a brush. It’s more pigmented and long-wearing than pencil but requires a steady hand. Great for winged liner once you’ve practiced.
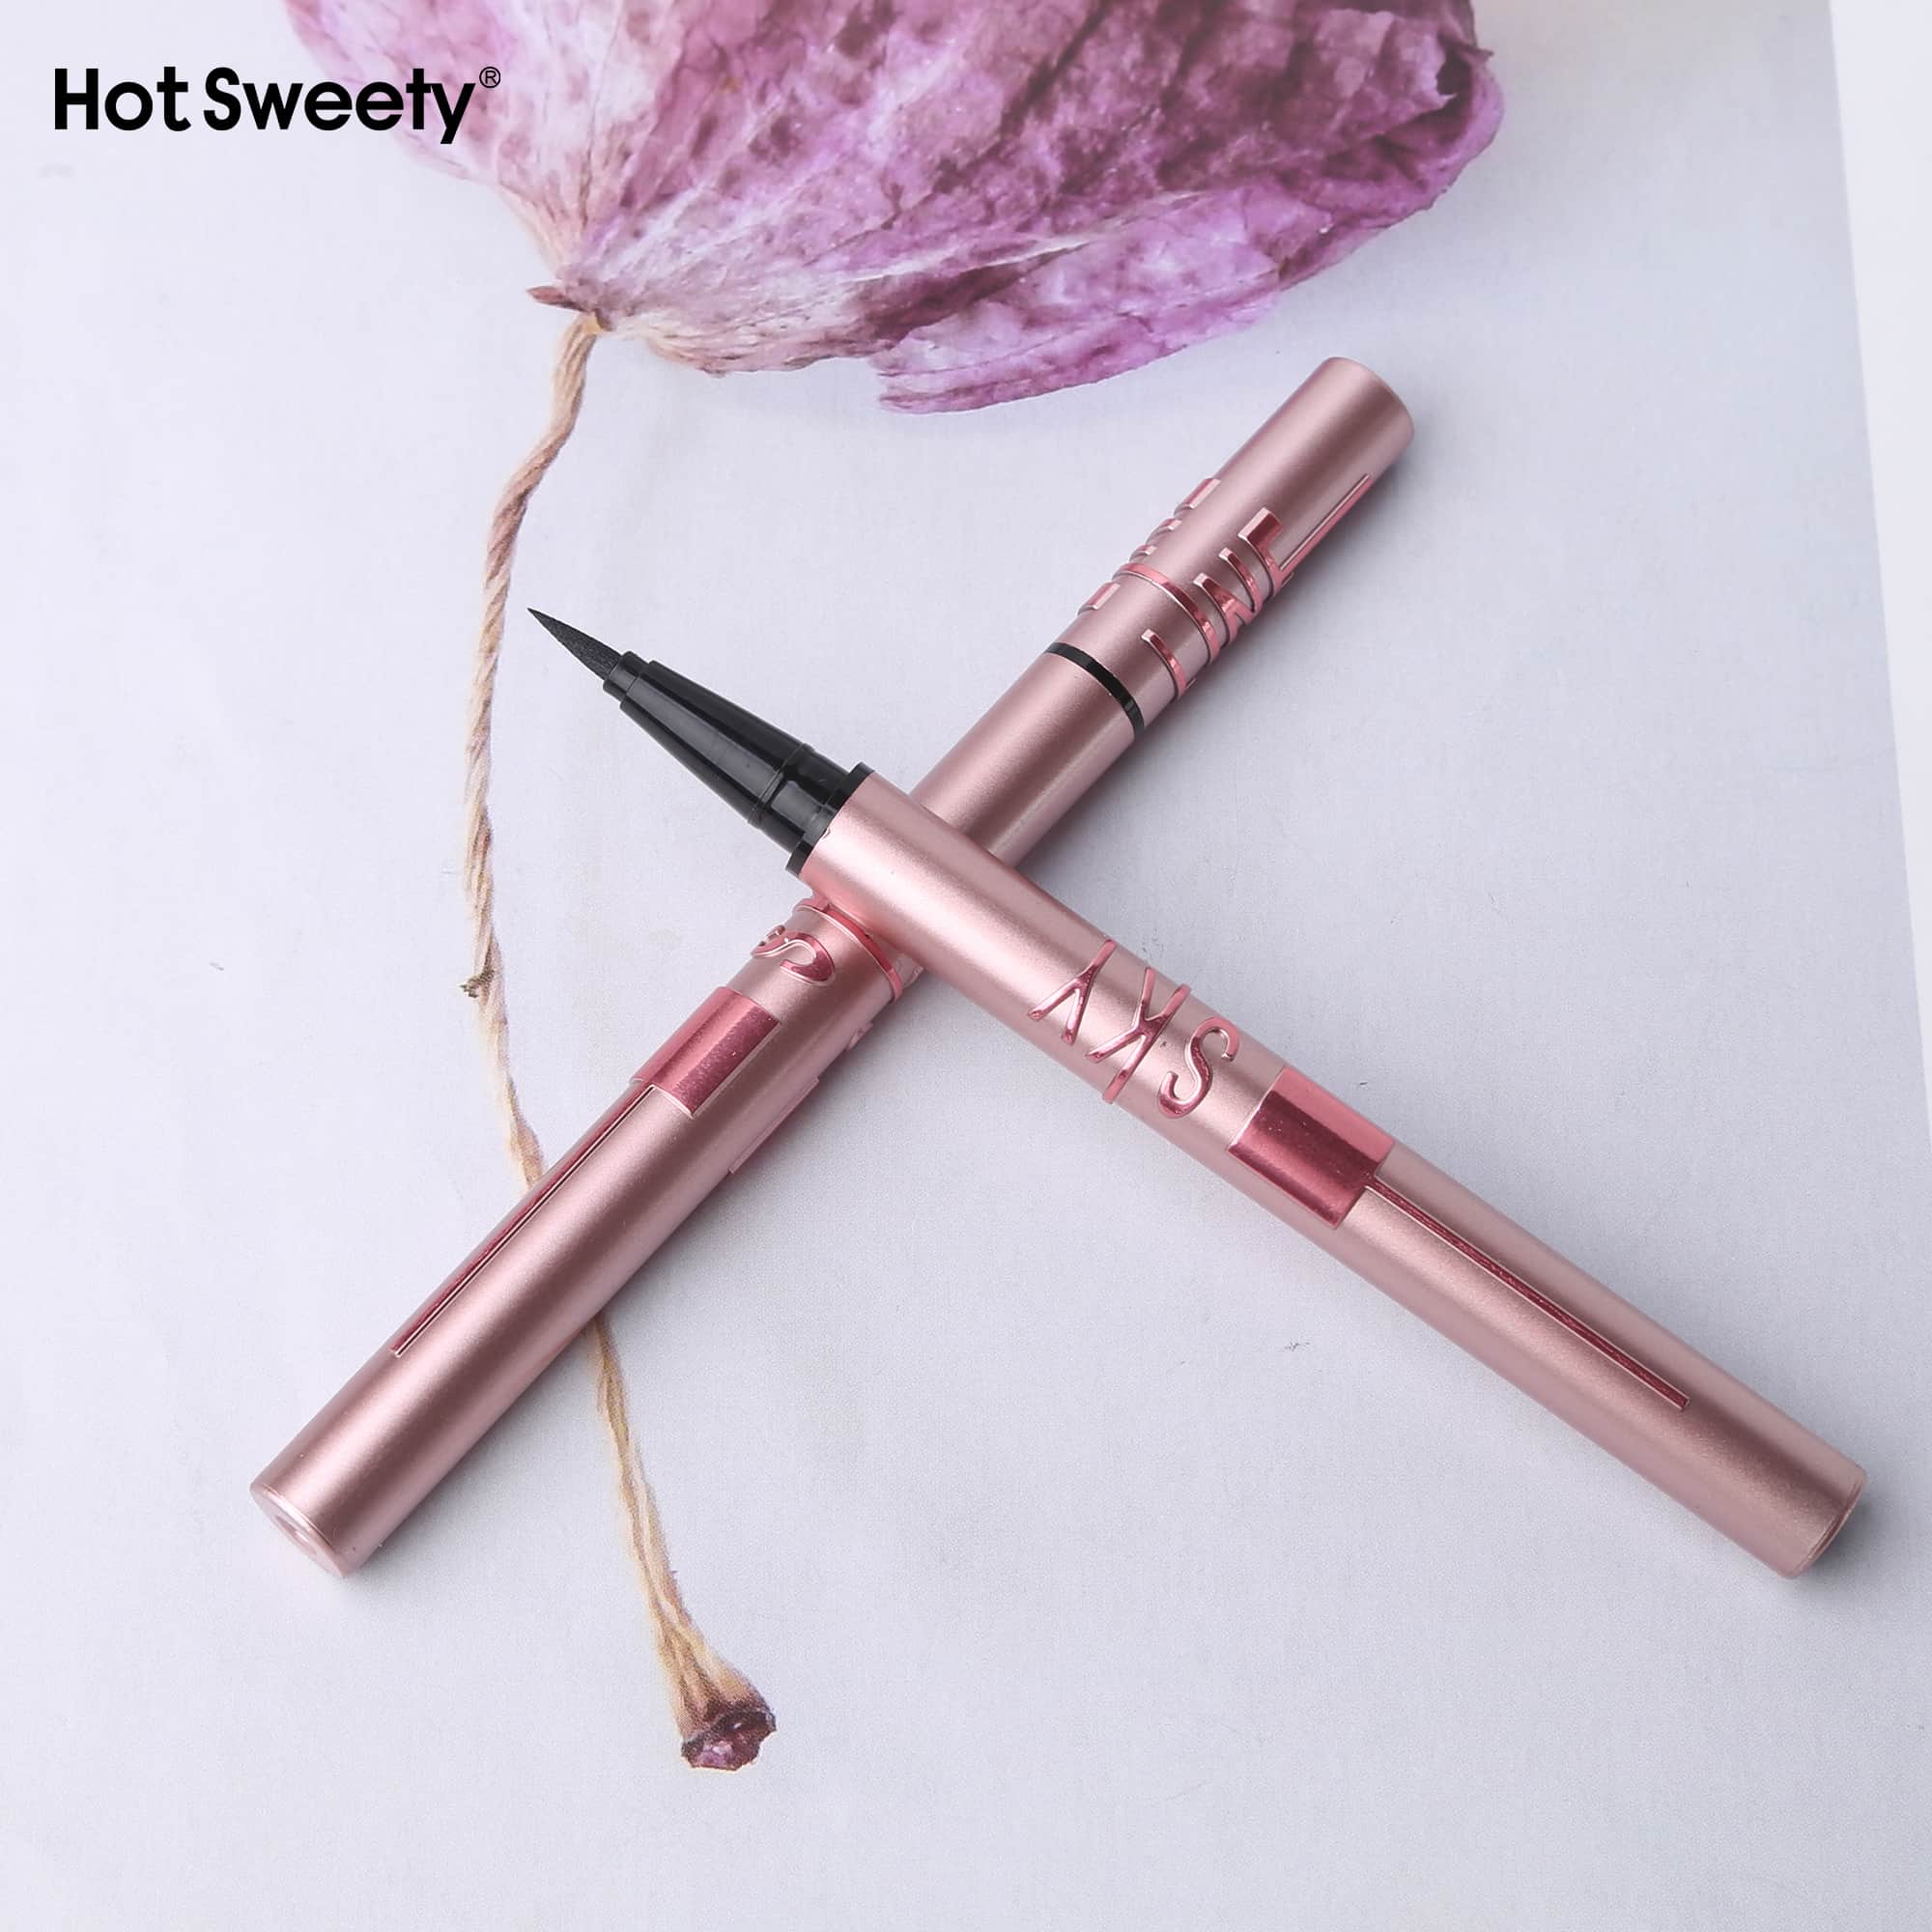
- Liquid Eyeliner (Advanced) – The most intense and precise, but also the least forgiving. Save this for later, or choose a “pen-style” felt-tip liquid liner that mimics a marker—easier to control than a dip-in brush.
Beginner’s pick: A retractable soft pencil in dark brown or charcoal (black can be too harsh at first).
Step 2: Prep Your Canvas
Eyeliner won’t stay put on oily or bare lids. Here’s your quick prep routine:
- Clean your lids with a gentle wipe or micellar water.
- Apply a light dusting of translucent powder or an eyeshadow primer. This absorbs oil and gives the liner something to grip onto.
- Rest your elbow on a flat surface (like a table or bathroom counter) to stop your hand from shaking.
Step 3: The Basic Techniques – Start Simple
Forget the dramatic cat-eye for now. Master these two basic styles first.
The Tightline (invisible lift)
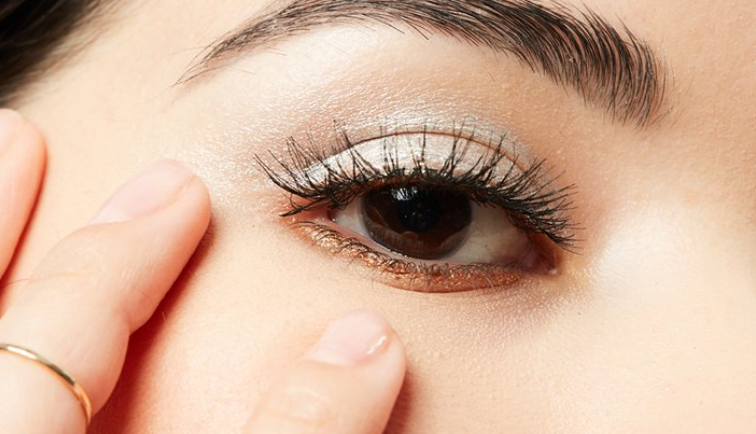
Lift your upper lid slightly and gently dot the pencil into the upper waterline (the tiny wet line just behind your lashes). This makes your lashes look instantly thicker without anyone seeing the liner. No mess, no stress.
The Simple Lash-Line Smudge
Draw tiny dots or a dashed line as close to your upper lashes as possible. Connect the dashes gently. Then take a small brush or your clean finger and softly smudge the line. Mistakes disappear instantly. This gives you a soft, defined eye that looks intentional—not messy.
Step 4: Fixing Common Mistakes (Without Crying)
- Shaky line? Turn it into a smoky line by smudging. Problem solved.
- Uneven wings? Dip a cotton swab in micellar water and clean up the edge. You can also use a tiny bit of concealer on an angled brush to “carve out” a sharp line.
- Transfer to your upper lid? That’s called “stamping.” It happens when you don’t let the liner dry or when your lids are oily. Use primer and set the liner with a matching eyeshadow powder.
Step 5: Practice Shape – The Easy Wing
When you’re ready for a wing, forget trying to draw it in one stroke. Use this trick:
1. Place a small piece of tape or a business card from the outer corner of your eye angling toward the end of your eyebrow.
2. Draw a thin line along the tape.
3. Connect it back to your upper lash line.
4. Fill in the triangle. Peel off the tape. Instant perfect wing.
Final Tips for Beginners
- Start with brown or gray instead of black. They’re more forgiving and look softer for daytime.
- Work in small sections – don’t try to draw your whole eye in one line.
- Practice at night before you wash your face. No pressure, no rush.
- Keep cotton swabs and micellar water nearby – your two best friends.
Remember: every eyeliner pro was once a beginner with shaky hands. The only difference is practice. So grab a pencil, take a deep breath, and draw that first dot. You’ve got this.
How To Achieve a Flattering No-Mascara Makeup Look