Achieving Ombre Brows with Makeup

To achieve ombre brows with makeup, follow these steps:
1. Choose the right shades of brow pencil
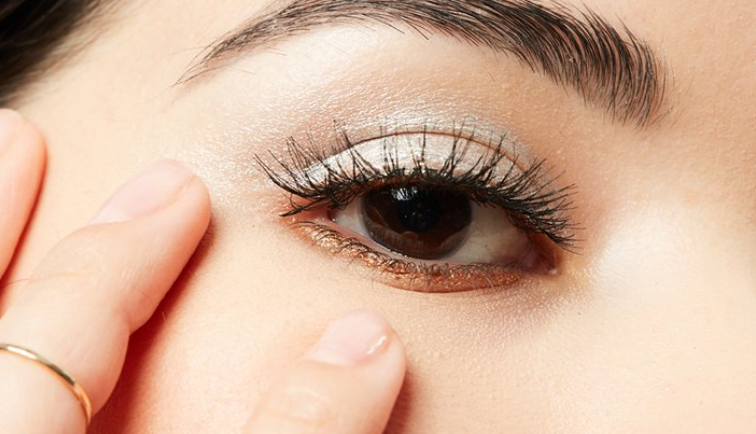
In addition to aesthetics, strong eyebrows offer a practical solution for those with thin or uneven eyebrows. Strategically apply a dark eyeshadow to the tail of your eyebrows, which can create the illusion of fuller brows, while applying a lighter eyeshadow to the front helps define and shape the structure of your eyebrows. The key to creating naturally dark eyebrows is to use two shades that are close to your natural hair color. Light eyeshadow should be applied to the front of the eyebrow and dark eyeshadow should be applied to the tail of the eyebrow.
2. Apply the lighter shade to the front of the brow
Starting at the inner corner of your eye, apply a light-colored eyebrow pencil to the front of your eyebrow. Follow the natural shape of the eyebrow and extend the product halfway up the brow.
3. Apply the darker shade to the tail of the brow
Apply the darker shade brow pencil to the tail of the brow, starting at the arch and extending to the outer corner of the eye.
4. Blend the colors together
Use a spoolie brush to blend the two shades of brow product together until they are completely seamless. This will help to create a natural-looking ombre effect.
5. Define the edges of the brows with concealer
Apply a small amount of L'Oréal Paris's True Match concealer using IT Cosmetics' Heavenly Luxe Brow Power brush to define the edges of your brows. This will help you achieve a clean and polished look.
6. Set the look with brow gel
To set the look, apply the Urban Decay’s Big Bush Volumizing Tinted Brow Gel to your brows. This will help to keep your brows in place all day long.
7. Enjoy your final look
You're finished! Snap plenty of photos and appreciate your stunning ombre brows!
Become an Ombre Brows PRO by Avoiding These
Ombre Brows: What Are They Plus How To Get The Look