How to Contour Your Face: Bronzer Placement for a Sculpted Look
When I was first asked to write a blog post on sculpting with pure bronze matte bronzer, I was a little apprehensive. I’d never fully mastered contouring as a skill, having spent years trying to shape my round, pale face with bronzers that were always too orange for my skin tone.
Luckily, I knew the person to turn to for expert guidance, who graciously offered to give me a tutorial on how to create a natural sculpted look.
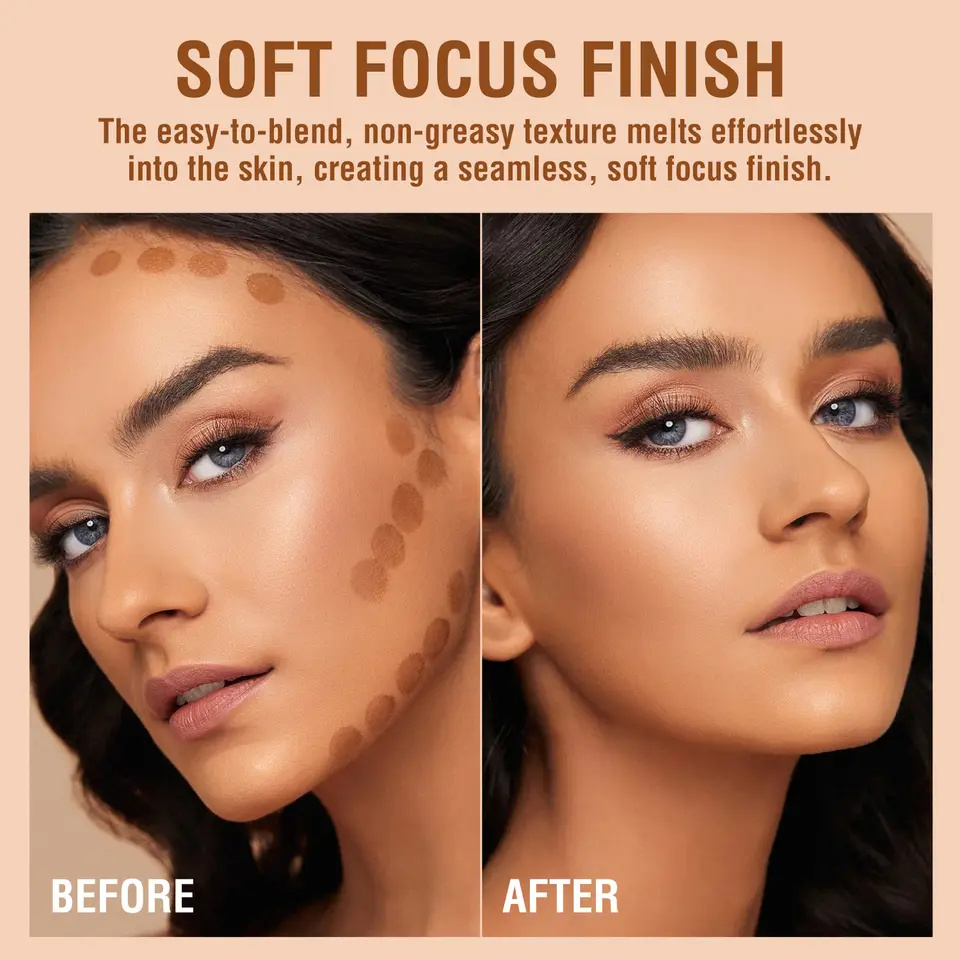
When sculpting the face, he recommends highlighting first and then contouring, as that makes it easier to tell where you need to add definition. To highlight, choose a shade that is a few shades lighter than the skin tone or use a product that has luminosity to create a similar lifted effect.
Once the highlighter is blended, apply the contour with a contour brush to the areas of the face you want to draw back. Common bronzer placement areas include: along the hairline, in the hollows of the cheeks, along the nose and along the jawline. Pro tip: When sculpting the jaw line, remember to begin behind the ear so there’s not an obvious line where the contour starts.
Then, when you’ve achieved the desired level of sculpting, the key to making it all look natural is to blend everything. Thoroughly. Keep the areas that are closer to the hairline darker and gradually blend the color out more with your contour brush as you move towards the middle of the face.
When it comes to highlighters, I like to go luminous vs matte so I add some Under-eye Concealer to the high points of my face, blending it in with the Blending/Contouring Brush. For extra glow, I top it off with the Highlighter Stick in Solstice.
I sweep PureBronze Matte Bronzer in Light, underneath my cheekbones around my forehead and under my jawline, blending with the Blending/Contouring Brush.
Since I have a rounder face, I skip adding blush to the apples of my cheeks and instead apply Blush Stick in Balmy from my temple, along the top of the cheek bone to the center of my cheek.
I add pencil in dark brown to my eyebrows for definition, sweep the shimmery rose gold shade from the Eye Shadow across my eyelids and lengthen my lashes with Thickening and Lengthening Mascara in Black Ice.
I finish the look with a swipe of our lipstick for a subtle hint of coral.
Looking in the mirror, I’m pleasantly surprised to see that my face does look sculpted and lifted in a natural way. I also do not look orange.
How to Choose the Right Mascara Brush For Your Lashes
Spring Eyeshadow Looks: Don't Be Afraid to Use Color!