Glowy Makeup Tutorial: How to Get The Look

If you regularly browse Tiktok for beauty inspiration, chances are you've stumbled across some glowing looks you'd like to try yourself. Different looks may go by different names (think: pearl skin or glazed donut skin), but they all have one thing in common, which is a focus on dewy (rather than shiny) skin. While proper skin care can help you achieve a more radiant complexion, adding glowing makeup can take your look to the next level. So if you want to know how to give your skin a natural glow, read on. Here, we'll reveal how to get the perfect natural gloss look for any occasion, and share some of our favorite cosmetics.
Step 1: Prepare the skin
Rough or uneven skin can make your complexion look dull, which is the last thing you want when you're looking for a glowing makeup look. Therefore, before you start wearing makeup, you need to prepare your skin properly. Your skin care routine usually depends on your skin type, but at the very least, we recommend cleansing and moisturizing to help ensure that your skin is smooth and hydrated. If you want to wear makeup during the day, you'll also need to apply plenty of sunscreen to protect your skin from UV rays.
Step 2: Apply a glossy primer
The purpose of a primer is to give your product a base to attach to and extend the life of your makeup, but that's not all it does. The right formula can also help boost gloss and give you the perfect start on a natural gloss look.
Step 3: Apply foundation and concealer
After letting your primer set for a minute or so, you can start applying the base makeup. However, it's important to choose the right formula - to shine, you want to avoid using any super full coverage or matte makeup. Instead, choose lightweight, buildable formulas that have a bit of shine or brightness. Liquids are best because they melt on the skin and look perfect.
Step 4: Add highlighter and bronzer
Highlighters are a key element of any glowing look. But as with foundation, it's important to choose the right formula. For a natural, shiny look, it's best to forgo the ultra-bright formula and opt for a more subtle look. Find a shimmery, liquid highlighter, and for highlighter, we recommend choosing a shade a little lighter than your base, then applying it where the light naturally hits your face - especially the top of your cheekbones, Cupid's bow, the bridge of your nose, and each brow bone.
Step 5: Add blush
If you really want your makeup to look sandy and shiny, blush is a must. But as with every step we detail here, balance is key - you don't want to overdo it, as too much blush can damage your natural glow. We recommend using spreadable creams or liquid blasters because they tend to be spreadable and mixable, and they can help add shine to your look (rather than dull it like foundation formulas do).
Step 6: Apply glowing eye makeup
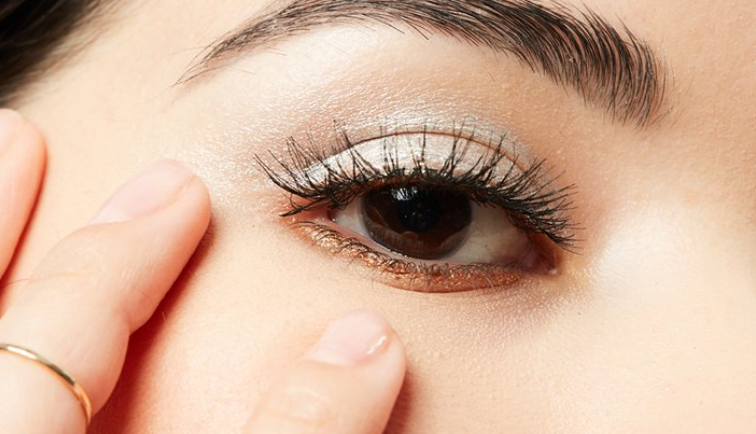
Makeup should look natural, not excessive, so we recommend a softer eye makeup. We recommend using shimmery nude eyeshadow instead of using ultra-pigmentation powder eyeshadow, which will add a bit of shine without looking over the top. Simply brush your chosen eyeshadow onto your LIDS and blend it with your fingers to soften any rough lines that would otherwise damage your soft, glowing look.
Step 7: Apply Lip Gloss
You can give your go-to matte lipstick a rest for now—for a seamless glowy makeup look, we suggest opting for lip liner and gloss instead.
Step 8: Create your image
Say it after us: Baking is not welcome here. While baking your makeup with a powder powder can give you a matte look, using a powder powder here may reduce the effect of your makeup. Instead, sprays can help you keep up your hard work for as long as possible. The former has a natural glow, while the latter is moisturizing and dewy - choose the one that best suits your preferences and gives you a glow.
The Ultimate Guide to Wearing Matte Lipsticks
How to apply cream bronzer