How Do You Apply Concealer?
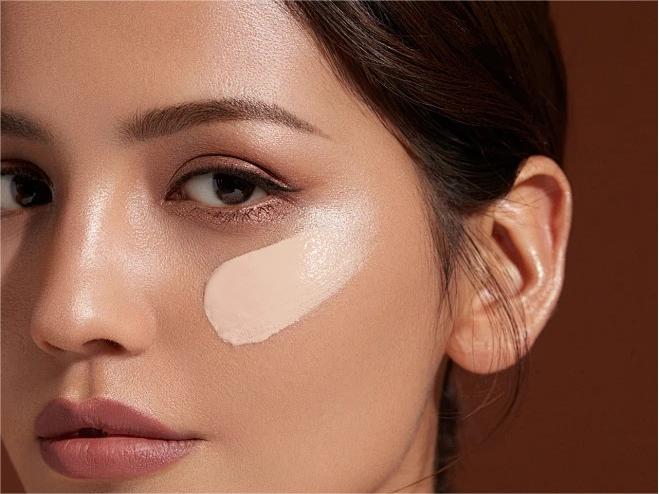
Step 1: Find your shade match
Before anything else, you’ll want to find a concealer that complements your skin tone. If you’re highlighting the center of your face or trying to brighten up your under-eye area, choose a formula that’s a shade or two lighter than your skin tone. If you’re not highlighting, or if you're trying to spot-conceal a blemish, a concealer shade that matches your skin tone will probably be your best bet. It’s also important to ensure your chosen shade matches your undertones—which can be either warm, neutral, or cool—to ensure the most seamless-looking end result. If you need help determining your undertones, check out our article Tips and Tricks for Identifying Your Skin’s Undertones.
Step 2: Apply concealer with a brush, sponge, or fingers
Many concealers come with their own applicators which you can use to dot the product on. However, we recommend using a tool, such as a brush or sponge, to blend out the pigment.
Makeup sponges are great for a seamless blend and tend to provide a more natural-looking end result. When blending, bounce or tap the sponge onto your skin to help blend the product with your foundation. You can also use your fingers to blend if you’re using a sheerer concealer.
Brushes, meanwhile, are ideal for fuller-coverage looks. We recommend using a dedicated concealer brush, to lightly buff the product onto your skin. The smaller end of the dual-ended brush can be used to apply concealer to hard-to-reach areas (like around the nose), while the larger, fluffier end is perfect for blending out the pigment for an airbrushed look.
Step 3: Set with powder
Setting your makeup with powder isn’t always necessary, especially if you have dry skin or are going for a glowy look. But lightly setting your concealer with powder can help prevent creasing, minimize shine, and make the concealer underneath last longer. It also makes it easier to layer other powder products, such as bronzer or blush, on top.
Types of concealers
Where Should You Apply Concealer?