Frame Your Face: A Beginner's Guide to the Perfect Eyebrows

They say the eyes are the windows to the soul, but what about the frames? Your eyebrows are arguably one of the most defining features on your face. They have the power to shape your expression, enhance your eyes, and complete your entire look. Yet, for many, filling them in can feel like a daunting task. Fear not! Mastering your arches is easier than you think.
Why Brows Matter
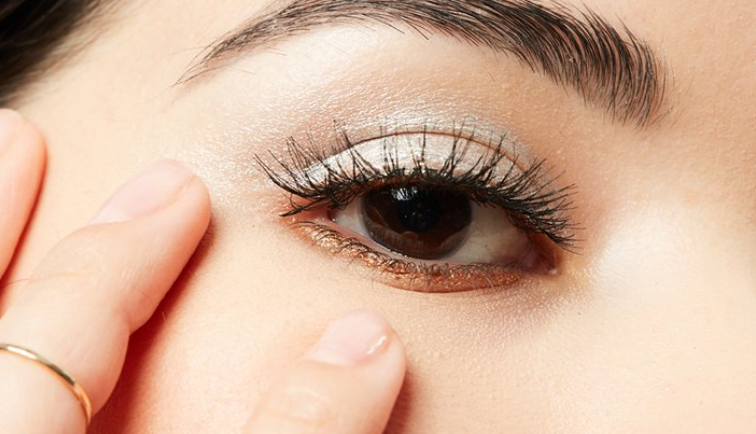
Well-groomed eyebrows provide structure, balance, and symmetry to your face. They can make you look more awake, polished, and even subtly lift your features. The goal of modern brow grooming isn’t to follow a strict, trendy shape but to enhance your natural arch and fill in any sparse areas for a full, feathered effect.
Step 1: Find Your Shape
Before you pick up any product, it's essential to identify your natural shape and its key points. You can use a brow pencil or a thin brush as a guide.
The Start: Hold the pencil vertically against the side of your nose. This is where your brow should begin.
The Arch: Angle the pencil from your nose to the center of your iris. This is the highest point of your arch.
The Tail: Swivel the pencil from your nose to the outer corner of your eye. This is where your brow should end.
Step 2: Choose Your Product
The right tool depends on the look you want and your natural brow hair.
Pencil: Ideal for beginners and those with sparse brows. It allows for hair-like strokes and precise control. Choose a shade that matches your root color or is one shade lighter for a soft look.
Powder: Great for creating a softer, more filled-in look. It’s perfect for adding density and works well on its own or set over a pencil for longevity.
Pomade or Gel: Offers the most intense, defined color. Use a fine, angled brush for sharp strokes. Clear or tinted brow gels are fantastic for setting hairs in place and adding texture and volume.
Step 3: The Application Process
1. Brush: Always start by brushing your brow hairs upward with a spoolie brush. This reveals your natural shape and any gaps that need filling.
2. Outline (Optional): Lightly sketch the desired shape along the bottom and top of your brow tail. Avoid harsh lines.
3. Fill: Using light, feathery strokes, mimic the direction of your natural hair growth. Focus on sparse areas. The golden rule: less is more. It’s easier to add product than to remove it.
4. Blend: Use your spoolie brush again to blend the product through your brows. This softens any harsh lines and distributes the color evenly for a natural, fluffy finish.
5. Set: A touch of clear brow gel will lock everything in place all day.
Remember, brows are sisters, not twins! Don’t strive for perfect symmetry. The goal is to have them look balanced and enhance your unique features. With a little practice, you’ll be framing your face like a pro in no time.
What Are The Differences Between Setting Powder and Setting Spray?
Don't Skip It: Your Simple Guide to Sunscreen for Healthy, Glowing Skin