9 Easy Steps for a Foundation-Free Makeup Routine
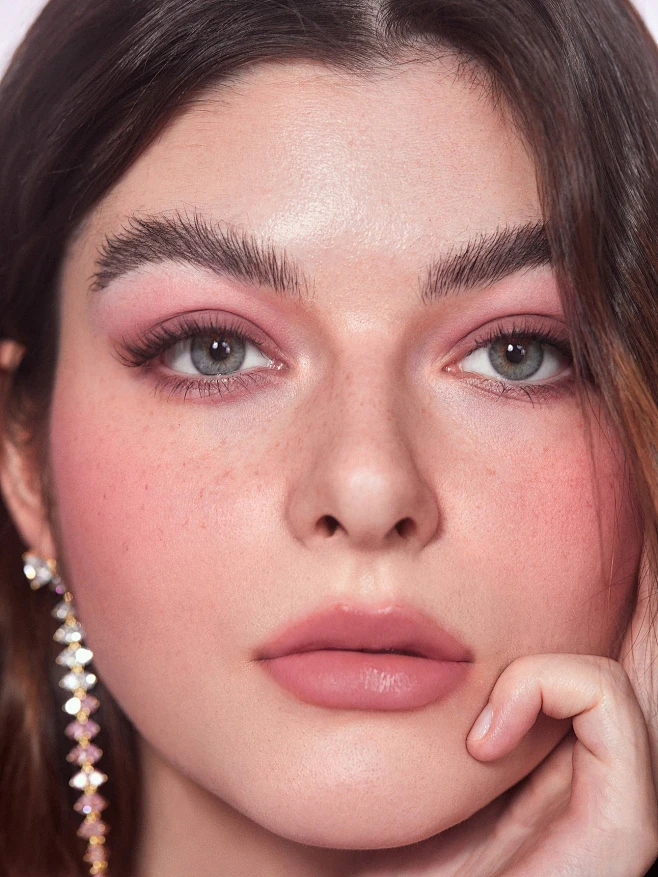
Tired of the heavy, cakey feeling of foundation but still want a polished, glowing complexion? You’re not alone. More and more people are embracing their natural skin texture while enhancing their features with strategic, lightweight makeup. A foundation-free routine can save time, let your skin breathe, and create a fresh, modern look. Here are 9 easy steps to master it.
Step 1: Start with Skincare as Your Base
The secret to a great foundation-free look is great skin prep. Cleanse, then apply a hydrating moisturizer suited to your skin type. Follow with a broad-spectrum sunscreen (non-negotiable for daily protection). Well-moisturized skin provides a smooth, plump canvas and a natural glow.
Step 2: Use a Primer Strategically
Skip the full-face primer. Instead, target areas that need it. A pore-blurring primer on the T-zone or a gripping primer on the eyelids can help makeup last without adding a layer over your entire face.
Step 3: Spot-Correct with Concealer
Instead of covering everything, use a creamy concealer only where you need it: under the eyes, around the nose, or on any blemishes or redness. Pat it in gently with your finger or a small brush for seamless blending. The goal is to even out, not mask.
Step 4: Add a Wash of Color with Cream Blush
Cream or liquid blush is your best friend here. Dab a small amount on the apples of your cheeks and blend upwards towards your temples. It melts into the skin, giving a healthy, natural flush that looks like it’s coming from within.
Step 5: Define Your Brows
Well-groomed brows frame the face instantly. Use a tinted brow gel or a fine pencil to fill in sparse areas with light, hair-like strokes. This adds structure without needing heavy base makeup.
Step 6: Keep Eyes Simple and Bright
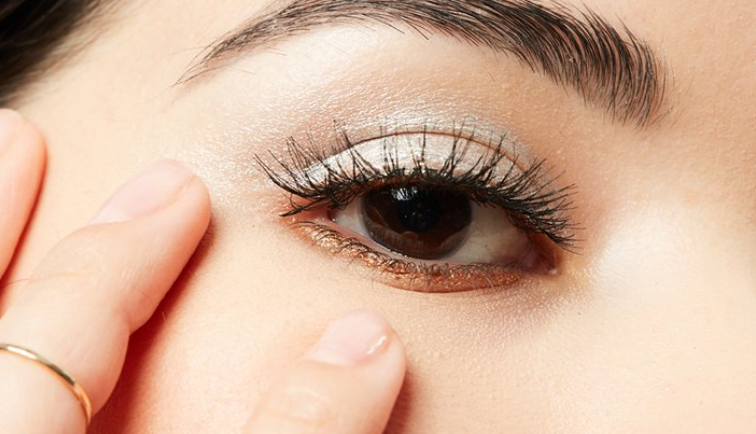
A touch of neutral eyeshadow (think taupe or beige) swept across the lid can add dimension. Then, tightline your upper lash line with a brown pencil and apply a coat of mascara. This defines the eyes, making you look more awake.
Step 7: Illuminate with Highlighter
Dab a liquid or cream highlighter on the high points of your face: cheekbones, brow bones, the inner corners of your eyes, and the Cupid’s bow. This draws light to your features and enhances your skin’s natural luminosity.
Step 8: Perfect Your Lips
Choose a tinted lip balm, a sheer lipstick, or a matte lip stain in a shade close to your natural lip color. Hydrated, defined lips balance the face and complete the look.
Step 9: Set Lightly (If Needed)
If you have oily areas or want your concealer to last, lightly dust a translucent setting powder only on those spots (like the T-zone). Avoid powdering the entire face to maintain a skin-like finish.
Pro Tips for Success:
Skincare is Key: Regular exfoliation and hydration will make your natural skin look its best.
Choose Creamy Formulas: Cream-based products blend into skin more naturally than powders.
Blend, Blend, Blend: Use clean fingers, damp sponges, or brushes to blend every product thoroughly for a no-makeup makeup effect.
The Final Look
You’ll be left with a face that feels lightweight, looks radiant, and, most importantly, still looks like you. This routine celebrates your unique skin while boosting your confidence.
Ready to give it a try? Ditch the foundation and let your skin shine through! Share your foundation-free looks with us using #SkinFirstBeauty.
Discover the Lip Gloss That Does It All: Hydration, Plump, & Shine
The Power of a Single Statement: How to Build a Look Around One Bold Makeup Choice