How to Apply Highlighter in 3 Steps
Step 1:
Do Your Face Makeup Routine
To start, do your entire makeup routine with foundation, concealer, blush and bronzers. This part is entirely up to you — just go through your routine as you normally would, whether that includes contouring, blush, simply a base layer of a tinted moisturizer or anything else. Your highlighter will be the last step.
Step 2:
Apply Your Highlighter to the High Points of Your Face
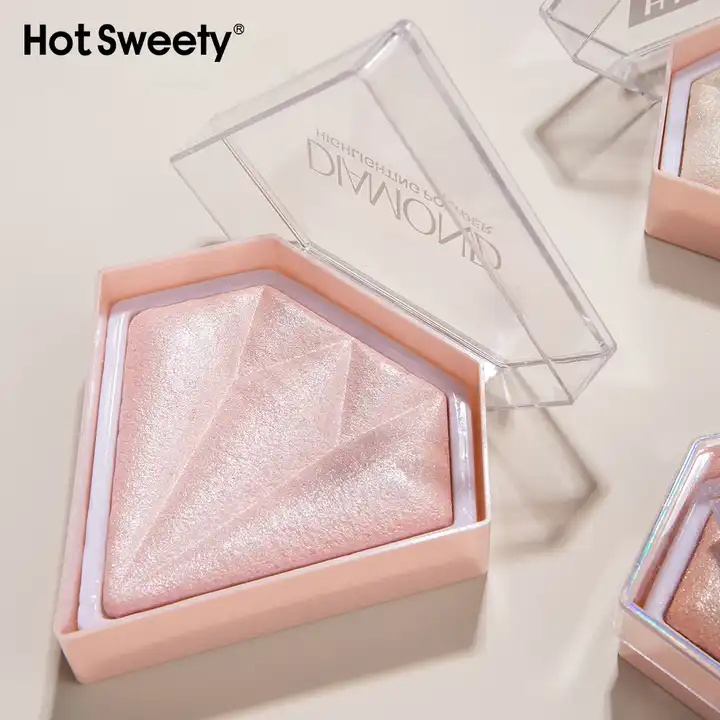
Once you’ve decided on your preferred form of highlighter — liquid, cream or powder — you can apply it to spots like the tops of your cheekbones and your cupid’s bow. Any of the areas mentioned above are fair game — it just depends on the look you’re going for.
Step 3:
Blend Your Highlighter
Finally, make sure your highlighter looks natural by blending it thoroughly. The way you apply and blend it depends on what product you are using. If using a cream or creamstick, I really like to use my fingers and tap the products on lightly, creating a buildable glow as I find that it blends so much easier.
For an all-over glowy look, someone recommends reaching for a liquid highlighter. You can use a slightly damp beauty sponge and bounce it wherever you want for a really flawless and glowy finish.
With powder highlighters, Patel recommends using a slightly damp brush to get the shiniest, most reflective finish. I like to use a tapered style blending brush that is on the smaller size as it can apply product in a very specific manner, get in the small spaces and get saturated color payoff. When highlighting the nose or cupid’s bow, reaches for a small, flat lip brush for super precise application.
“Peach girl makeup” is summer's biggest beauty trend
Where to Apply Highlighter